Showing posts with label tutorials. Show all posts

Thursday, July 11, 2013

Round and Round - A Quick Recycled Project

 Here is a simple, quick and crafty idea using a crochet tutorial and a few bits of found stuff. 
1. Take one new scarf - well actually just the plastic ring that is hung up on in the shop. Only do this if you were going to buy the scarf anyway. If the shop assistant attempts to take it off, smile sweetly and ask if you can keep it. Otherwise plastic bracelets raided from your child's collection, or bought for next to nothing at op-shops are perfect.
2. Follow  this tutorial on Lola Nova's lovely blog to crochet a cute little frame using some scraps of left over yarn. It's pretty easy and won't take very long. There are LOTS of pics to help you along the way. (I may have discovered when making my second one, that I just may have misread the pattern slightly when making the first one!)
3. Eat something that comes in a box that you perhaps find lurking at the back of your pantry. Avoid stale breakfast cereal, however. Keep the box, and tear off one side. Or, just raid your recycling bin for a bit of light cardboard.

4. Collect a piece of paper that looks interesting. For the orange one, I have used a  bag that had a  macaroon inside, from a well known cafe chain. The grey one also uses a paper bag that contained a surprise from the Lark sale. The insides of envelopes are also perfect. It's amazing what you can find in your junk mail too. 
 5. Cut the ribbon from inside a piece of clothing. I actually keep a jar of these ribbons, they come in very handy for present wrapping, crafting and hair ornaments. Does anyone actually hang their clothes by those ribbons anyway?
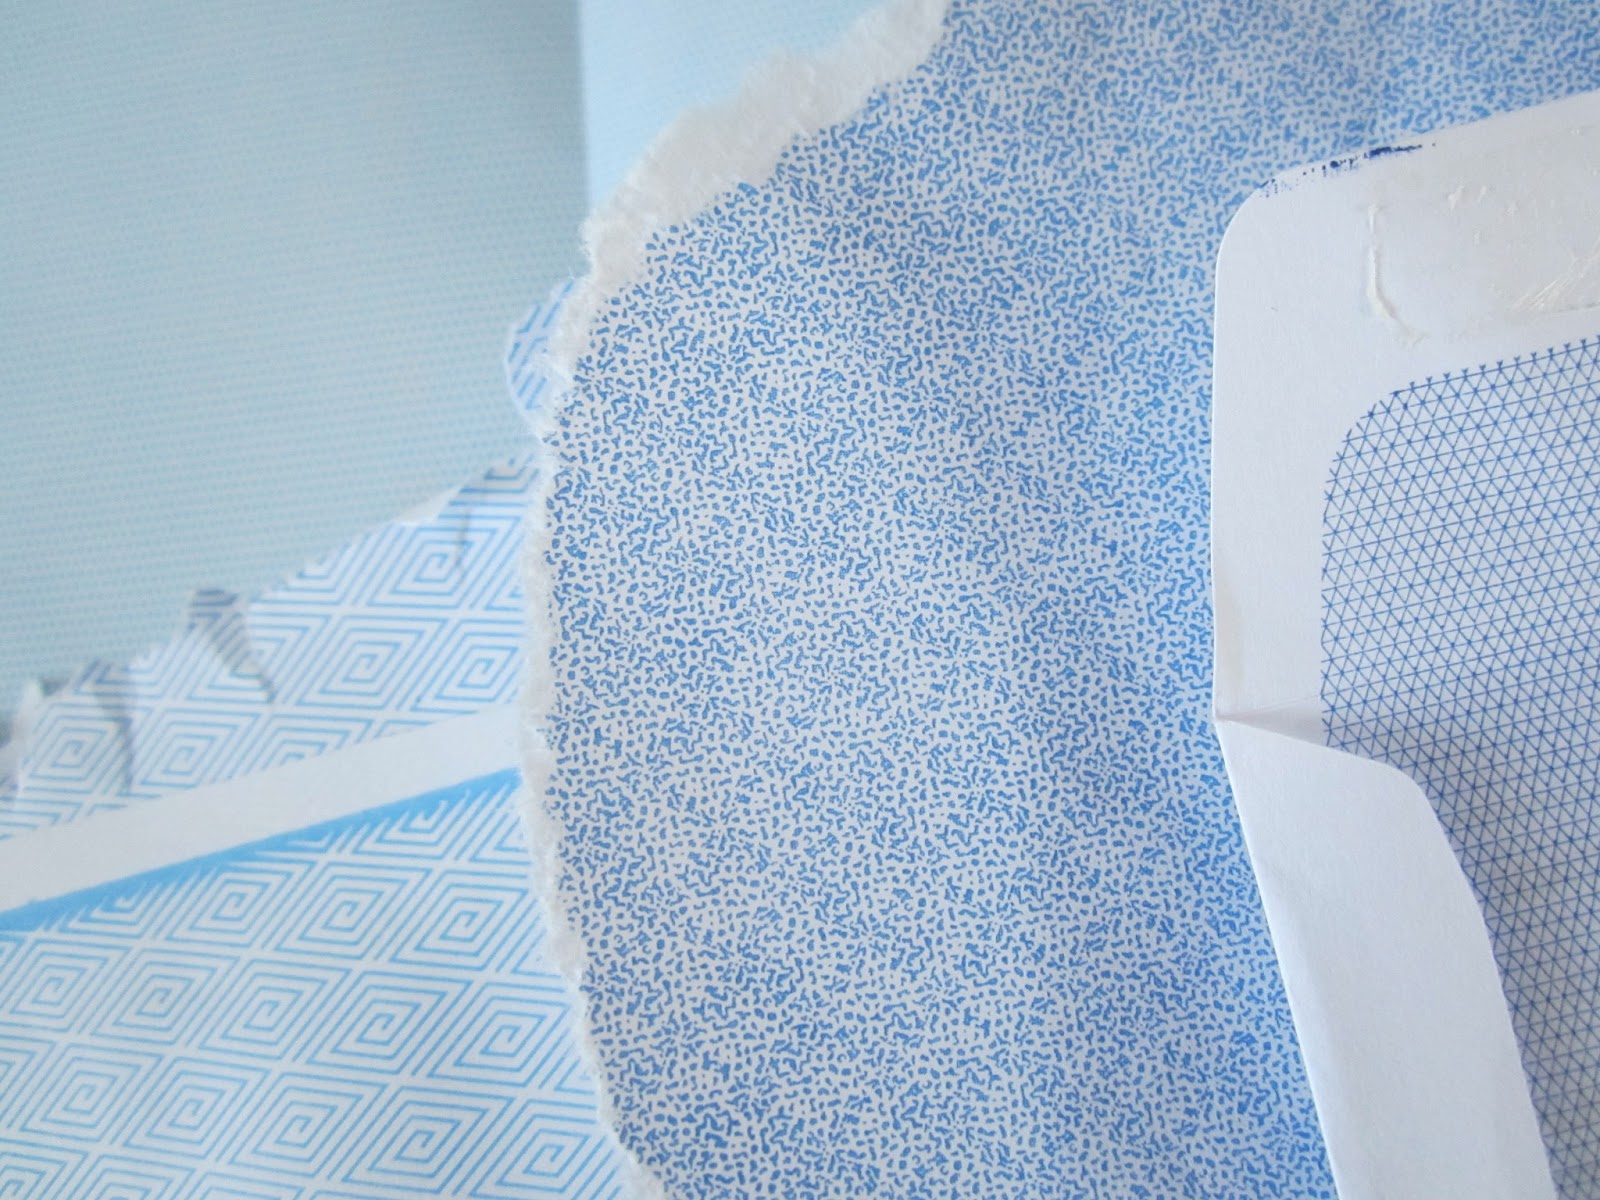


6.  Layer your pretty paper with the light card, to make a sandwich. Use a glue stick to adhere the layers together. Trace a circle from your completed frame onto the paper (on the back), and cut out a few millimetres from your  drawn line.

N.B. Use your ring/bangle to trace the circle before you actually do the crochet part if you are super-dooper organised.
7. Decorate your frame anyway you like. Use paper tapes, words cut from junk mail or magazines or put your labeller to good use. You are only limited by your imagination! Use the glue stick or tape to attach your decorated paper circle to the back of the crocheted frame.

8. Find a place to hang your work where you can admire it.Pat yourself on the back for being so resourceful and crafty!


Wednesday, February 13, 2013

Happy Valentine's Day

Valentine's Day is pretty low key around these parts, usually a card and small token  like a single rose or a favourite choccie.
 
I have shared a few simple ideas that can be whipped up quickly, if the mood strikes!


Think about using the words to a special song, like I have done. The eyecharts look fantastic in a simple black frame, like this one.


This would certainly make that morning cuppa a special one!
 
Whatever you do, have a super loverley day with the ones you lovexx

Saturday, January 12, 2013

Teeny Tiny Crochet Bunting Tutorial


Nothing new , but a fun, easy project that you can make in an evening, or two!

 
Requirements - small amount of main colour, scraps of 8 ply yarn, 3.50mm crochet hook, scissors, darning needle
  1. Chain 4.
  2. 3 treble into 4th chain from the hook. Chain 3 (counts as 1 tr), turn.
  3. 1 treble in each treble of previous row (5 tr) ch 3, turn
  4. 1 treble in each treble, 2 treble into turning chain (7 tr)
  5. Fasten off and darn in ends.     
 
Make as many little flags as you like, using lots of different colours for a scrappy look, or go for a single colour or limited colour palette. The possibilies are endless!
 

To make the bunting (working from right to left):

Using main colour - leave a long tail of yarn, chain 14. Take a flag and work double crochet across the top edge (7 dc).
Chain 7 and then double crochet  across the top of the next flag. Chain 7. Continue to create the desired length.
*An odd number of flags looks best on a short bunting.


Leave a comment to win the cute little bunting pictured above.          
Entries close 2nd February
 
Entries Now Closed


Saturday, November 10, 2012

When Clay Meets Crochet


I followed a wonderful tutorial over at  Christina Lowry Designs  to make Air Dry Clay Ornaments
 

I discovered that different doileys make very different impressions.
 
I experimented with using some rubber stamps
 
and different shaped cookie cutters
 
I found this lovely string at Spotlight today ( I happily spent my $10 Christmas voucher on the clay on Thursday night)
 
I love all of the textures, and how each one is so unique.
I think they will look lovely tied onto presents wrapped in brown paper.
I may even pop one into my ornament swap packages!
 
A very enjoyable and productive way  way to spend an hour or two.
Thankyou Christina.
 
What did you spend your spotty voucher on?

Friday, June 15, 2012

Fancy Flower brooch Tutorial

How to crochet a fancy flower

Just in case you want to make your own!

1. Choose 3 colours of yarn that take your fancy and lay your hands on a 3.50 crochet hook.


2. Using colour A make 4 chain, leaving a 15cm long tail  and slip stitch to make a ring.

3. Chain 3, to count as first treble, make 11 treble into the ring. Fasten off colour A. (12 tr)

4. Using colour B, join yarn to one of the trebles. Chain 1, make 2 double crochet into each treble (24 dc)

 5. Join  Colour C to any dc

6. * chain 4, 1 double treble into next stitch, 2 double treble into next stitch, 1 double treble into next stitch, chain 4, slip stitch into next stitch.


7. repeat from * to make 6 petals.

8. Fasten off colour C.


9. Sew in all ends leaving the long tail end from colour A in the centre. This will be used to sew the brooch pin in place.

Monday, January 25, 2010

Crafty stuff

a little monster made from my childhood sheet

Tutorial here


A question - should I do the shell edging or not?

A secret something for someone special


My crafty time is running out....I start my new job on Thursday!

Sunday, October 19, 2008

How To Make A Doll Look Ancient Tutorial

Pattie asked me how I 'bake'my dolls so I have put together a mini tutorial on how I did it. Hope you find it interesting. I certainly enjoy this part of the creation process, as you never know exactly how the doll is going to turn out.
BEFORE
Embellish the doll as desired. I used red yarn for hair, buttons for eyes and embroidery for the features. I used a dot of pink paint for the cheeks. Make a dye bath in the sink using hot water, 4 teabags, 2 tbs instant coffee, a big slurp of parisian essence (gravy browning) and 1 tbs walnut crystals(You can use any combination of these, depending on what you have at hand)
Remove doll from the dye bath and squeeze as much liquid out as you can. Place doll on a foil lined tray and place in a warm oven. Leave to bake, checking often, as it is easy for the doll to scorch. Turn over regularly. You can place the doll in the clothes dryer wrapped in a big towel to finish drying if she has reached the desired level of colour (or you are too impatient to wait!) You can use a spray bottle with water if you want to tone down any areas of colour.AFTER
I removed one of the button eyes and stitched a cross in it's place and also cut some of the stitches on her nose. I also sanded her cheeks a little with fine sandpaper as they were a bit bright. The end result - a very old, loved looking doll.
p.s visit Pattie's blog for her bumper giveaway!

LinkWithin

Related Posts Plugin for WordPress, Blogger...